Introduction - Making Retr0bright - Using Retr0bright
Using Retr0Bright Gel
To ensure the best results, you are advised to wash the parts first, to remove any polishes or other deposits that may lead to patchy results. Tezza put his parts through a dishwasher on a cool cycle.
Just before you paint the gel onto the parts, add ¼ teaspoonful of any "Oxy"¯ type laundry booster and stir it in throroughly, and then put the parts under a UV lamp or out in the sun.
A day or so later, your parts should be as good as new, wash the gel off and that's it! It may take another treatment for the worst yellowing to be reversed but in all cases it will eventually be successful. To permanently prevent the yellowing from returning, just coat the parts with a clear acrylic varnish. Alternatively, you could use a protective polish such as Armor-All or Autoglym to provide a UV protectant to the surface.
Here are some of the other projects that were treated as part of the experiments.


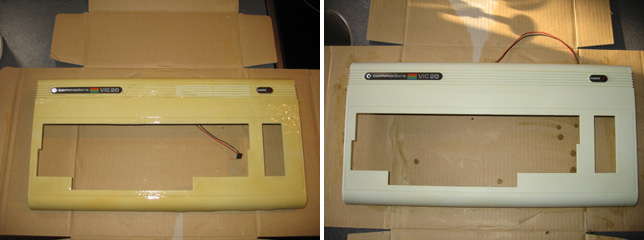
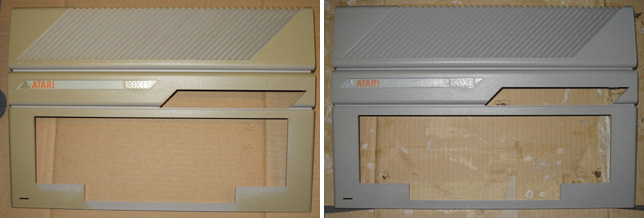
Figures 5 and 6. A Commodore VIC-20 and an Atari 130XE, both treated by Tezza of Vintage Computer Forums.


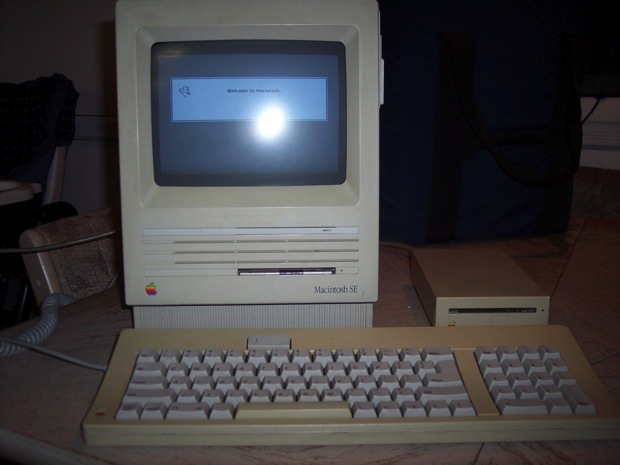
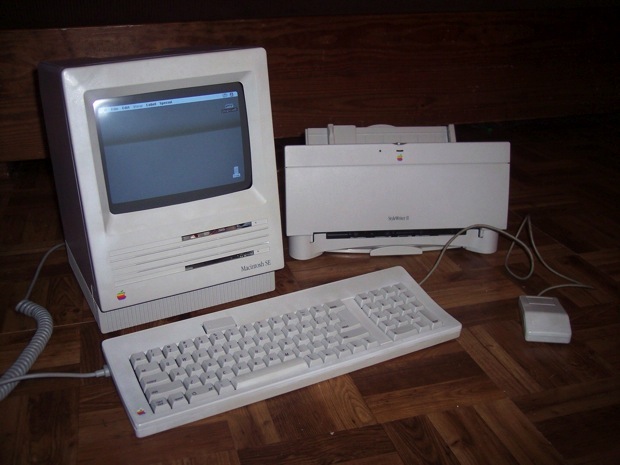
Figures 7 and 8. An Apple Mackintosh treated by Krye of Vintage Computer Forums.
Merlin sums things up;
“There were an incredible number of people at first that said this was impossible – that was until they saw the pictures, then tried it and proved it for themselves. The usual reaction was ‘No way!’ then ‘WOW!!’.
This has been a truly global effort by retro enthusiasts and has proved to work on Commodore, Atari, Osborne, Apple and other machines and the work still continues on various forums worldwide. As long as you protect yourself against the hydrogen peroxide, this is pretty goof proof and I hope that others get to see the amazing effect we spent so much time working to achieve.”


